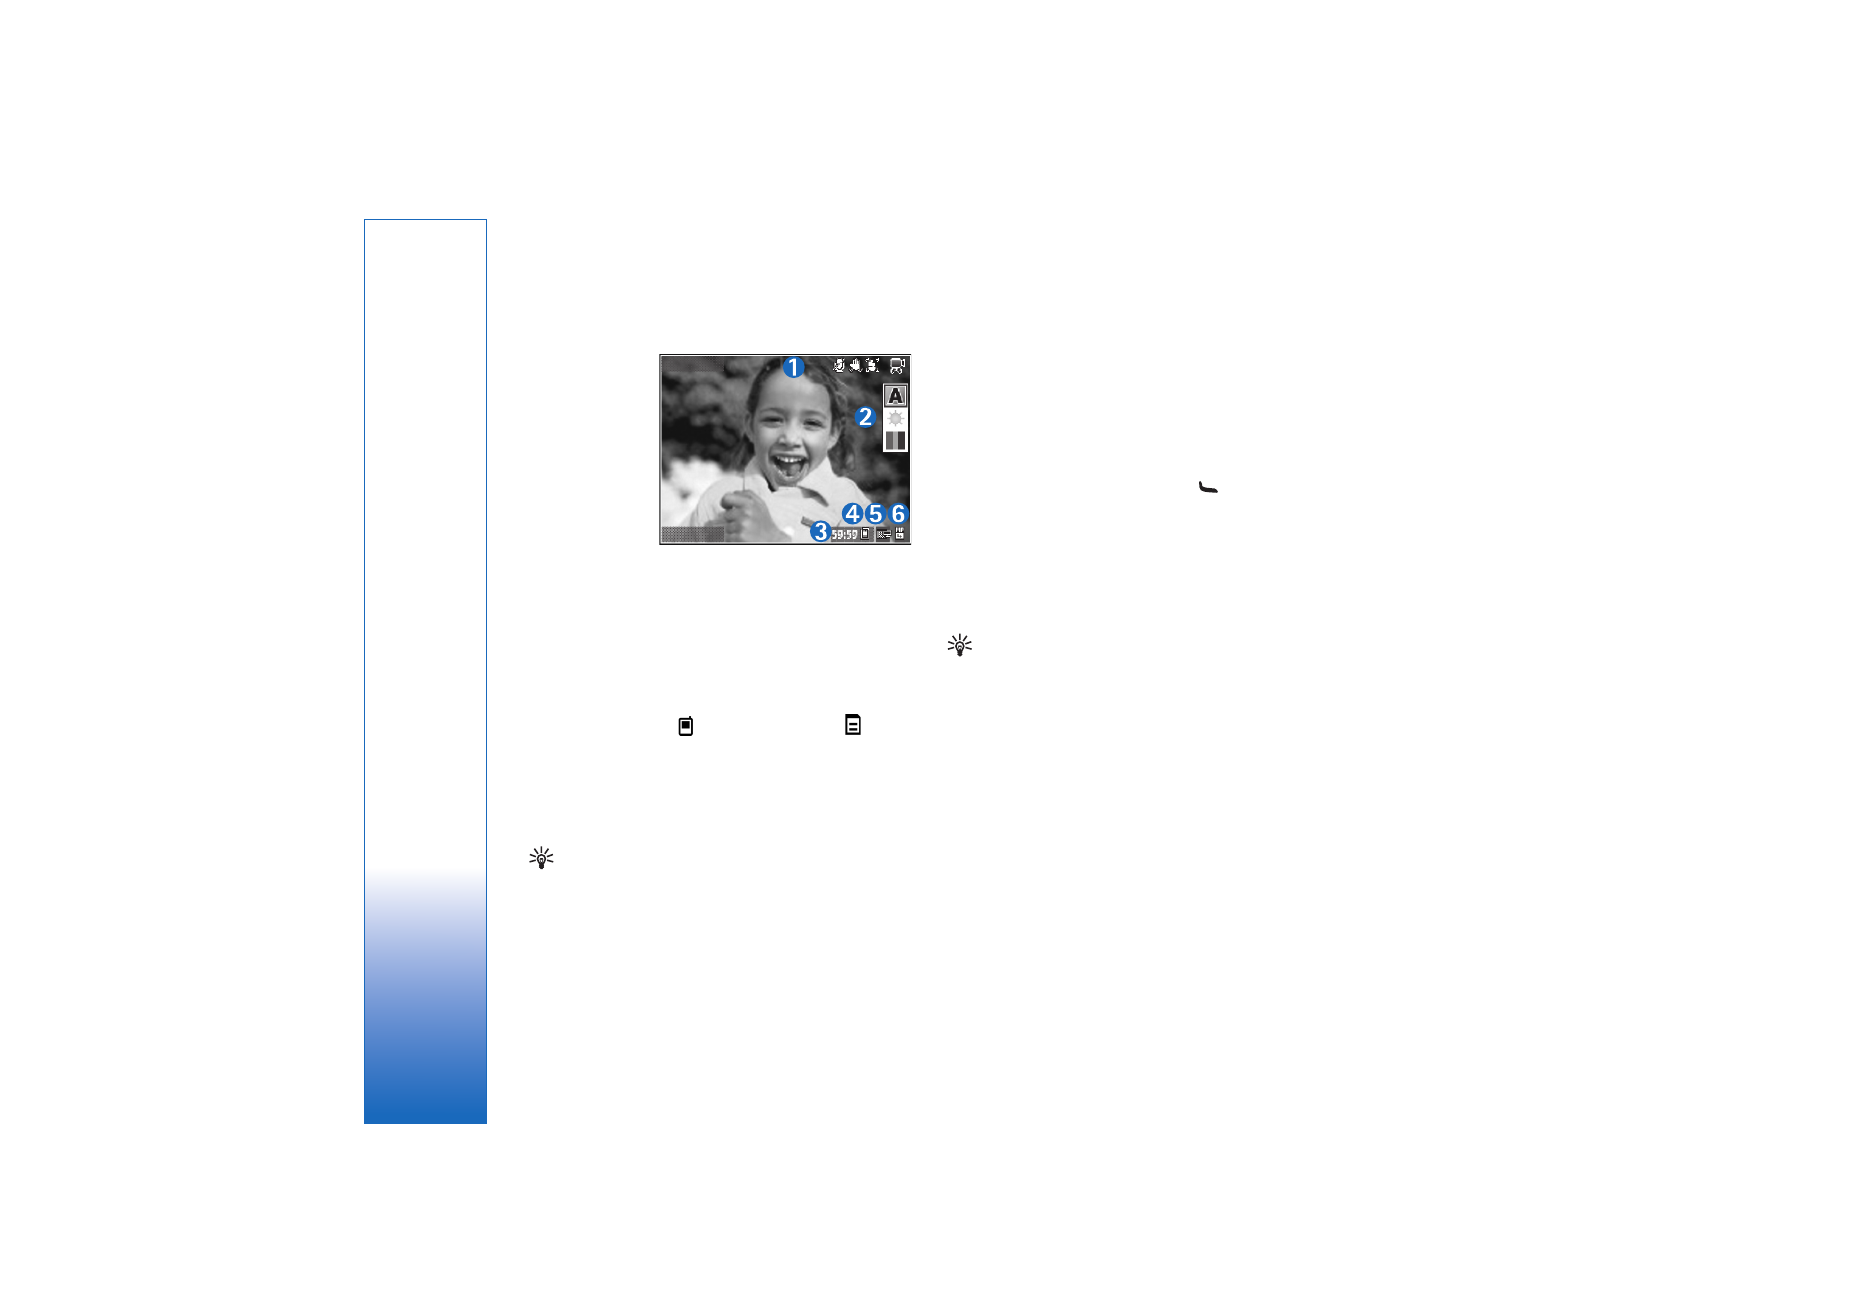
Video settings
There are two kinds of settings for the video recorder:
Video setup
and main settings. To adjust
Video setup
, see
‘Setup settings—adjust color and lighting’, p. 28. The setup
settings return to the default settings after you close the
camera, but the main settings remain the same until you
change them again. To change the main settings, select
Options
>
Settings
and from the following:
Audio recording
—Select
Off
if you do not want to record
sound.
Exit
Options
Exit
Options

Camera
25
Video quality
—Set the quality of the video clip to
TV
(high)
(best quality for long term usage and playback on a
compatible TV or PC and handset),
TV (normal)
,
Handset
(high)
,
Handset (normal)
, or
Sharing
(limited video clip
size to send using multimedia message (MMS)). If you
want to view the video on a compatible TV or PC, select
TV
(high)
, which has VGA resolution (640x480) and the .mp4
file format. To send the video clip through MMS, select
Sharing
(QCIF resolution, .3gp file format). The size of the
video clip recorded with
Sharing
is limited to 300 KB
(about 20 seconds in duration) so that it can be
conveniently sent as a multimedia message to a
compatible device.
Video stabilisation
—Select
On
to reduce camera shake
when recording the video.
Add to album
—Select whether you want to add the
recorded video clip to a certain album in
Gallery
. Select
Yes
to open a list of available albums.
Show captured video
—Select whether you want the first
frame of the recorded video clip to be shown on the display
after the recording stops. Select
Play
from the toolbar
(main camera) or
Options
>
Play
(secondary camera) to
view the video clip.
Optical zoom during recording
—Select
On
or
Off
. Select
Off
to eliminate mechanical noise caused by lens
movement during optical zooming when recording.
Memory in use
—Define the default memory store: device
memory or memory card (if inserted).